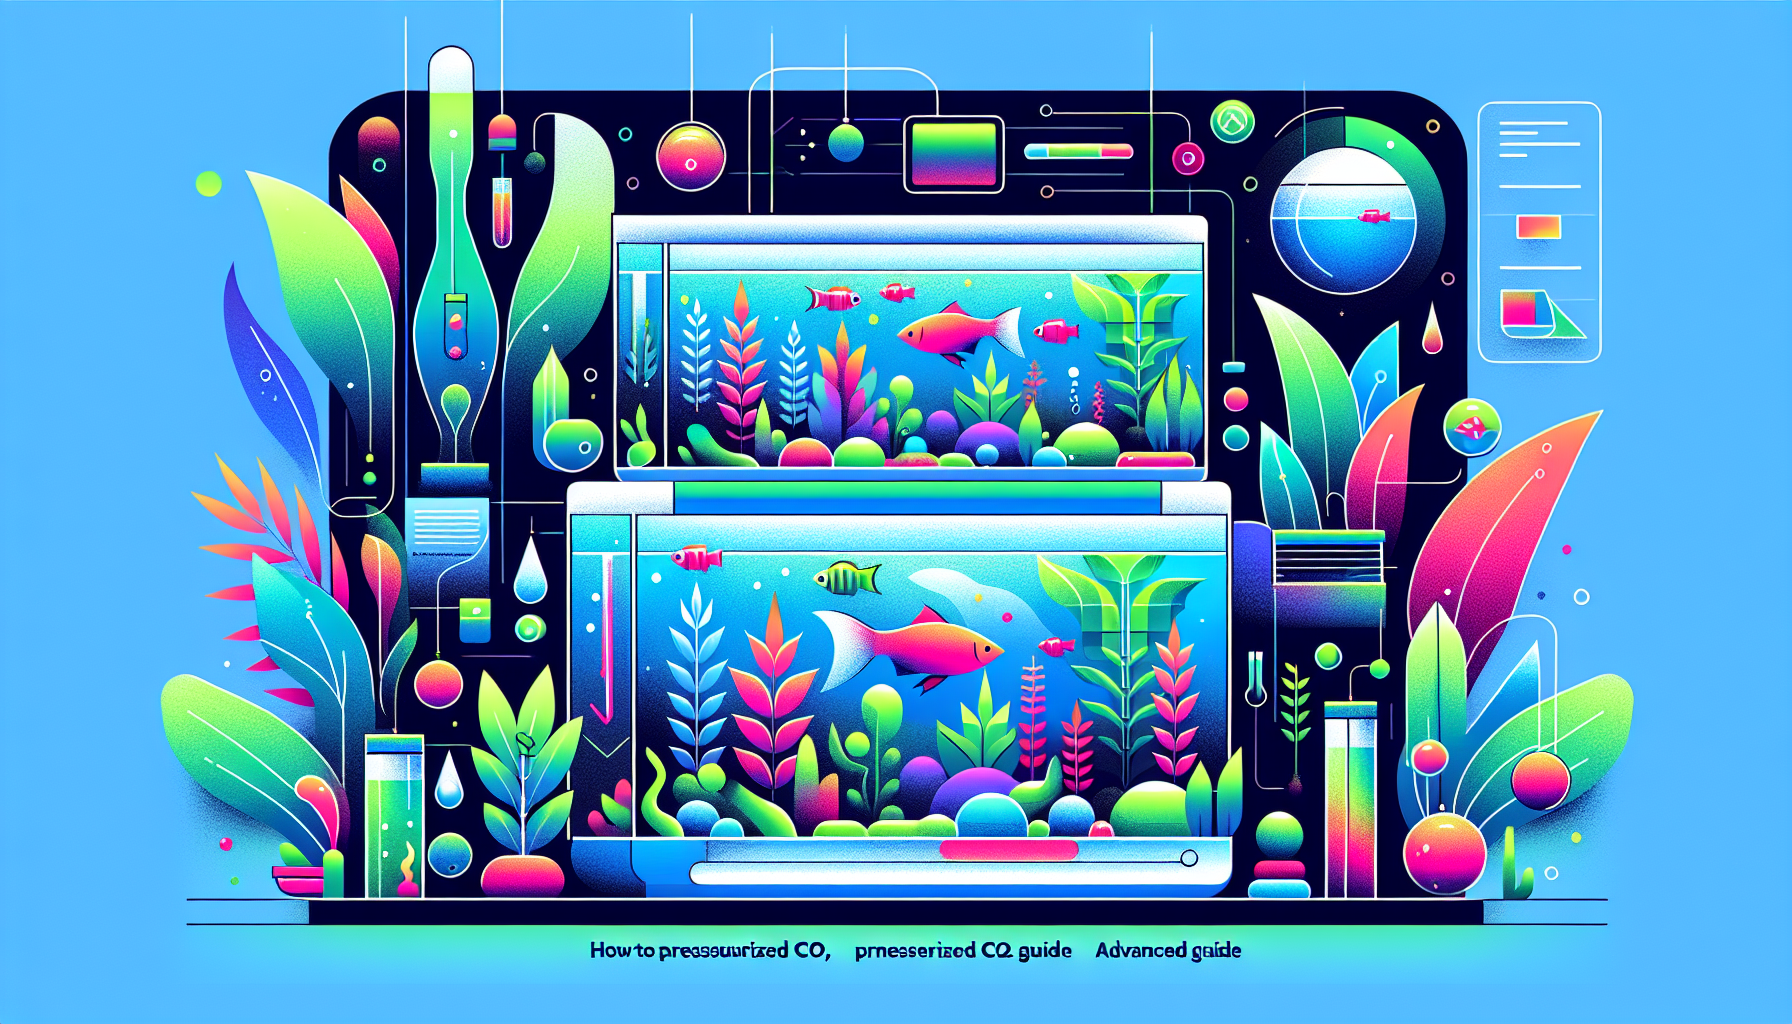
How to Pressurized CO2 Guide (Advanced Guide)
If you’re ready to take your planted aquarium to the next level, a pressurized CO2 system is a game-changer. While beginner setups can thrive without added CO2, advanced aquascaping designs and dense plant growth are nearly impossible without it. This guide walks you step-by-step through the advanced nuances of pressurized CO2—from component selection and precise tuning to maximizing safety and plant health.
Why Choose Pressurized CO2 for Advanced Aquascaping?
Pressurized CO2 systems are the gold standard for high-tech planted tanks. Unlike DIY yeast setups or liquid carbon alternatives, pressurized systems deliver consistent, adjustable CO2 levels, essential for:
- Dense, vibrant plant growth—even with demanding species
- Precise control over CO2 dosing to minimize algae
- Stable, healthy tank ecosystems
Learn more: What is CO2 in Aquascaping?
Components of a Pressurized CO2 System
For advanced aquascaping, quality parts make all the difference. Your pressurized CO2 setup should include:
CO2 Cylinder
- Material: Aluminum or steel (5lb or 10lb for most setups)
- Certification: Always use certified tanks designed for aquarium use
Regulator with Solenoid
- Dual-stage regulators prevent “end-of-tank dump” by providing stable pressure as the tank empties.
- Integrated solenoids allow automated shut-off, usually controlled by a timer or pH controller.
Needle Valve
- Enables fine-tuning of CO2 flow—crucial for balancing plant growth and avoiding livestock stress.
Bubble Counter
- Lets you visually monitor CO2 dosing rate (bubbles per second).
Check Valve
- Prevents water from back-siphoning into your regulator—protect your investment!
Diffuser or Reactor
- Atomizers produce fine CO2 mist for rapid diffusion.
- Inline reactors are ideal for canister filter setups and large tanks.
Drop Checker
- Monitors CO2 concentration using a color-changing solution (target: green for ~30 ppm CO2).
Step-by-Step: Setting Up a Pressurized CO2 System
1. Secure Your Equipment
Double check that all components are rated for aquarium use, and inspect seals/O-rings for safety. Set your cylinder upright on a stable, level surface—never lay it flat.
2. Attach the Regulator
- Screw the regulator tightly onto the CO2 cylinder. Make sure all connections are secure, but avoid over-tightening.
- Attach the solenoid (if separate) and plug it in to a timer or controller.
3. Install Tubing and Accessories
- Connect CO2 tubing from the regulator/needle valve to the bubble counter, then to the check valve, and finally to the diffuser or reactor in your aquarium.
- Ensure all tubing is CO2-resistant to avoid leaks.
4. Prime and Adjust
- Open the cylinder main valve slowly; listen for leaks.
- Set the working pressure (typically 1–2 bar/15–30 psi for most diffusers).
- Use the needle valve to start at a low bubble rate—about 1 bubble/second per 20 gallons is a safe starting point.
- Place your drop checker in the aquarium away from the diffuser.
5. Fine-Tune for Plant Growth
- Observe the drop checker color after several hours (should turn green).
- Increase or decrease the bubble rate to fine-tune CO2—aim for healthy, rapid pearling of your plants, but no gasping fish!
- Always make changes gradually to avoid CO2 shock in fish and shrimp.
Advanced Tips for Pressurized CO2 Mastery
CO2 Synchronization
Connect your solenoid to a timer so CO2 runs only when your lights are on. Start CO2 injection 1 hour before lights-on and stop 1 hour before lights-off for best results.
Pearling and Plant Response
Healthy, well-lit plants with optimal CO2 and nutrients will “pearl”—release visible oxygen bubbles—especially in competitive aquascape layouts. Adjust your CO2 upward slowly if you’re not seeing pearling in demanding tanks like Dutch or Nature style aquascapes.
pH Drop and Livestock Safety
- Track aquarium pH. A 1.0 point drop after CO2 starts is ideal for many plant species.
- Monitor livestock closely. Turn CO2 down if fish gasp at the surface or become lethargic.
Optimal Diffusion Techniques
- For nano tanks, in-tank diffusers offer direct, visible bubbles; for larger tanks (~75g+), use inline reactors on your filter for more efficient dissolution.
- Clean your diffuser regularly to prevent clogging and maintain efficient CO2 absorption.
Common Pressurized CO2 Challenges & Troubleshooting
Leaking Connections
- Use soapy water to check for leaks at connections—bubbles mean leaks. Tighten or replace seals as needed.
Inconsistent Bubble Rate
- Consider a higher-quality regulator with a sensitive needle valve for precise adjustments.
End-of-Tank Dump
- Always use a dual-stage regulator to prevent rapid CO2 release as the cylinder empties.
Algae Outbreaks
- Too much or too little CO2 can trigger algae. Pair CO2 adjustments with good fertilization habits and balanced light.
Safety Tips for Pressurized CO2 Use
- Never use oil or grease on CO2 cylinder valves or regulator fittings.
- Always secure your cylinder upright to prevent tipping.
- Store cylinders away from direct sunlight and out of children’s reach.
Frequently Asked Questions (FAQs)
How often do I refill my CO2 cylinder?
A standard 5lb cylinder lasts 3–6 months on a 50–75 gallon tank. Refill frequency depends on tank size and bubble rate.
Can I use a pressurized CO2 system for low-tech tanks?
Yes, but monitor livestock carefully to avoid over-dosing. Advanced systems are best suited for medium to high-light aquariums.
Do I need to adjust CO2 for different aquascape styles?
Yes—Dutch and Nature aquascapes often require higher CO2, while Iwagumi may need less due to slower-growing plants.
Conclusion: Elevate Your Aquascaping with Pressurized CO2
Mastering pressurized CO2 unlocks truly spectacular aquascapes. With precise control, high-quality equipment, and a bit of patience, your planted aquarium will flourish with lush, vibrant growth. Want to dig deeper? Check out our guides on aquarium lighting and aquascaping fertilizer basics to build a complete, thriving ecosystem.
Ready to level up your aquascape? Dive into more expert resources at Aquascaping Academy and transform your aquarium into a living work of art. Got questions? Leave a comment or join our newsletter for pro tips and updates!


