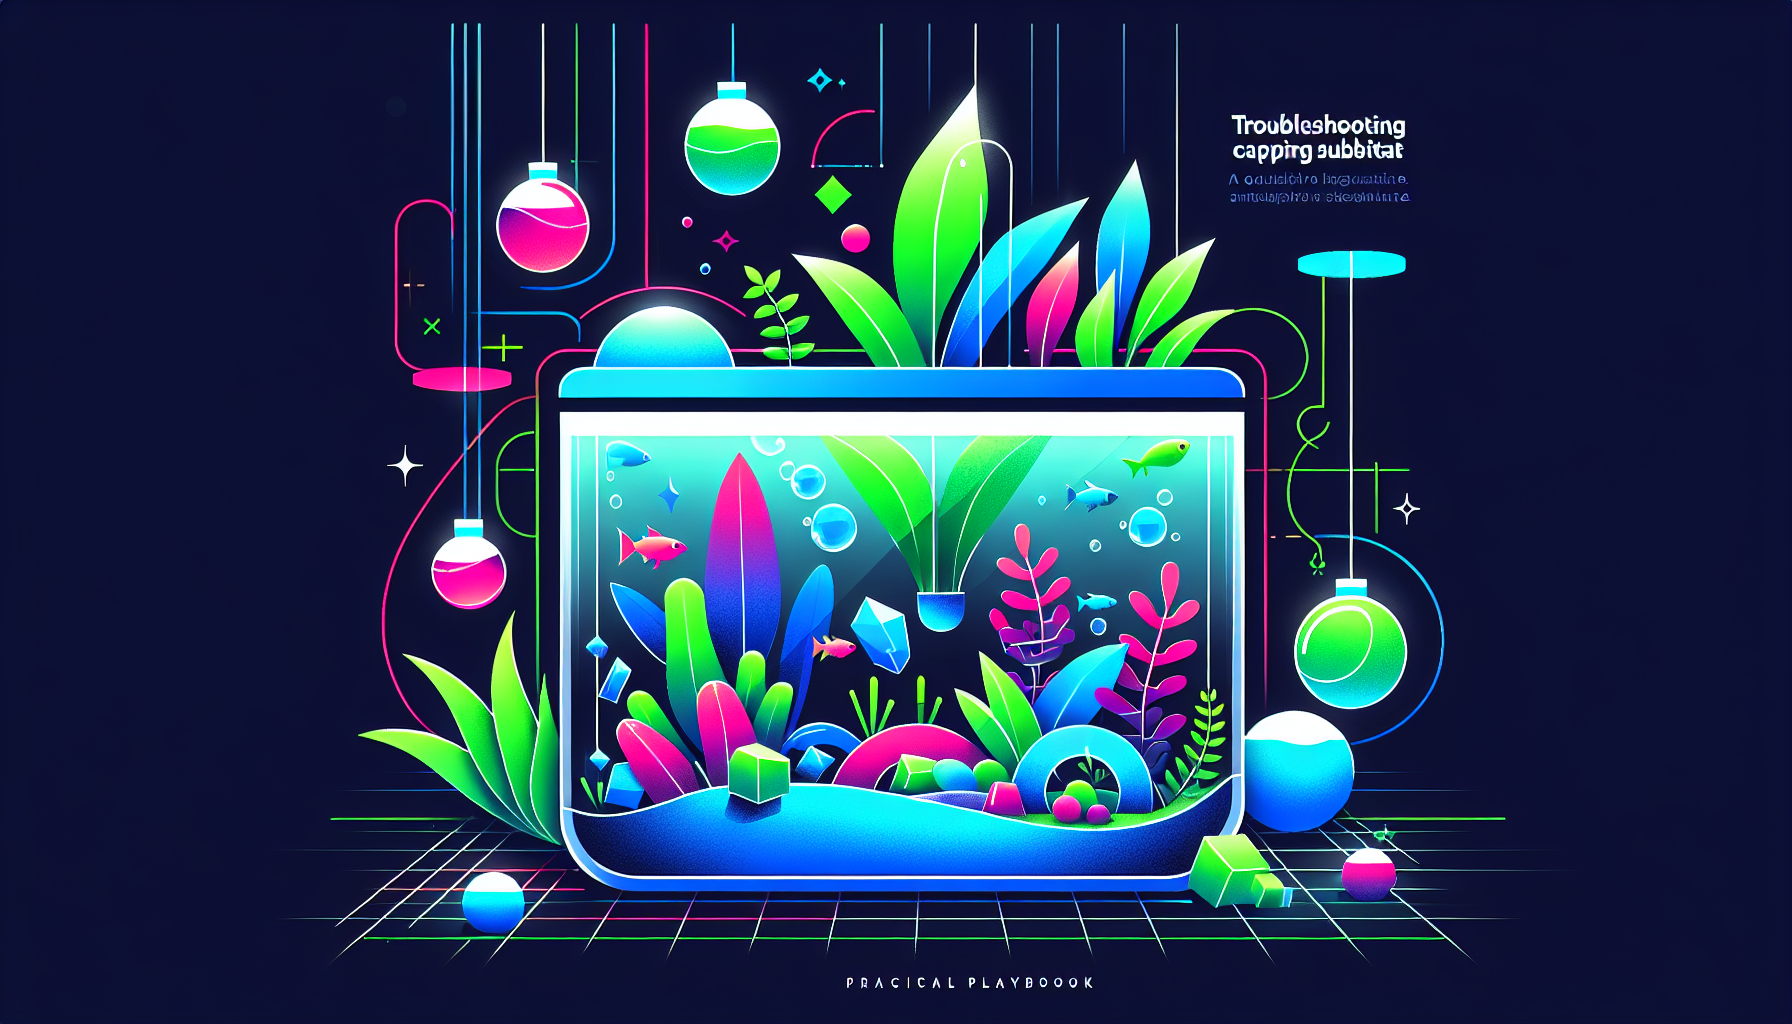
Troubleshooting Caping Substrate: A Practical Playbook
If you’re passionate about aquascaping, getting your substrate layers right is critical for plant health and long-term tank stability. Caping substrate—the process of adding a layer of sand or gravel over nutrient-rich base soil—can dramatically improve your aquascape’s performance. However, caping can bring its own set of challenges. In this playbook, we’ll explore common problems with caping substrate in freshwater planted aquariums and provide effective, practical solutions for each.
What is Caping Substrate & Why Is It Important?
Caping simply means placing a layer of inert material, such as aquarium sand or gravel, over a nutrient-rich soil or base layer. This technique serves several purposes:
- Prevents nutrient-rich substrate from clouding the water
- Reduces ammonia spikes by containing active substrate
- Creates a stable planting surface for aquatic plants
- Improves the overall appearance of the aquascape
For more on basic substrate types and layouts, visit our Comprehensive Guide to Aquascaping Substrates.
Common Caping Substrate Problems (and Solutions!)
1. Cap Layer Mixing with Base Layer
Symptoms: Cloudy water, unattractive appearance, and nutrient-rich substrate visible on the surface.
Possible Causes
- Insufficient cap thickness
- Aggressive planting or aquascaping
- Active fish or bottom dwellers disturbing substrate
How to Fix
- Maintain a cap thickness of at least 1.5-2 cm (0.6–0.8 inches) for sand or gravel.
- Plant with care: Use tweezers and avoid disturbing the cap and base layers during planting.
- Consider choosing less active bottom dwellers; for example, replace digging corydoras with shrimp or snails.
- If mixing occurs, gently siphon up the mixed area and re-cap as needed.
2. Caping Layer Floating or Shifting
Symptoms: Caping material moves around, exposing base soil, or floats to the surface during water changes.
Possible Causes
- Air trapped beneath the cap during setup
- Lightweight capping materials (e.g., very fine sands or pebbles)
- Heavy water flow during tank filling
How to Fix
- When setting up, add water slowly and direct flow against a plate or plastic bag to prevent disturbance.
- Pre-wet your substrate to avoid air pockets.
- Choose cap materials with a bit more weight, like coarse sand or finer gravel, for better stability.
- Use planting mesh in sloped layouts to help hold substrate in place. Read more in our Slope Aquascaping Techniques article.
3. Algae or Cyanobacteria Growth on Cap
Symptoms: Green, brown, or blue-green slime forming on the substrate surface.
Possible Causes
- Excess nutrients seeping through the cap
- Too much light exposure on bare substrate
- Poor water circulation
- Organic debris accumulating on the surface
How to Fix
- Increase cap thickness to minimize direct nutrient contact.
- Plant dense ground covers (like Eleocharis or Monte Carlo) to shade the substrate.
- Gently vacuum debris and perform regular water changes.
- Improve flow with a small powerhead or by repositioning your filter outlet.
- For persistent cyanobacteria, try spot-dosing hydrogen peroxide or specialized treatments.
4. Poor Plant Growth in Capped Substrate
Symptoms: Plants appear stunted, yellowed, or fail to root effectively into the cap.
Possible Causes
- Cap layer too thick, blocking root access to nutrients
- Dense or compacted capping material (e.g., fine sand)
- Inert cap in a low-tech or non-fertilized setup
How to Fix
- Keep the cap between 1.5–2 cm for most tanks; too thick can hinder root growth.
- Consider using coarse sand or gravel that allows easy root penetration.
- Supplement with root tabs if using inert caps or if plants are heavy feeders like Cryptocoryne species.
- Avoid over-compacting the cap layer during setup.
Best Practices for Caping Substrate in Aquascapes
Achieving success with caping substrate is all about careful setup and ongoing attention:
- Layer mindfully: Start with a quality base and cap with at least 1.5-2 cm of sand/gravel.
- Fill your tank gently: Use a plate or bowl to diffuse water and prevent substrate disturbance.
- Plant intelligently: Use aquascaping tools for precise planting while minimizing disturbance.
- Maintain regularly: Siphon debris and adjust cap as needed, especially after replanting or moving hardscape.
- Monitor fish behavior: Remove or relocate species that may disrupt the substrate excessively.
Troubleshooting Tips Summary
- Keep cap layer thickness just right: not too thin, not too thick
- Pick capping materials that suit your tank size, layout, and fish/invert choice
- Address substrate disturbances quickly to keep your aquascape looking great
- Plant densely to help stabilize substrate and outcompete algae
- Regular maintenance prevents most substrate problems before they get serious
Final Thoughts
Caping substrate isn’t just about aesthetics—it’s vital for plant health and a balanced, thriving aquarium. With the troubleshooting playbook above, you’ll be ready to tackle any capped substrate issues that arise, keeping your aquascape both beautiful and functional.
Want more practical aquascaping tips? Check our blog archive for in-depth guides on plant choices, hardscape layering, and substrate maintenance techniques.
Ready to Optimize Your Aquascape?
Got a tricky substrate issue? Share your questions or success stories in the comments below! Be sure to subscribe to the Aquascaping Academy newsletter for the latest aquascaping tutorials, product reviews, and troubleshooting guides—straight to your inbox.


