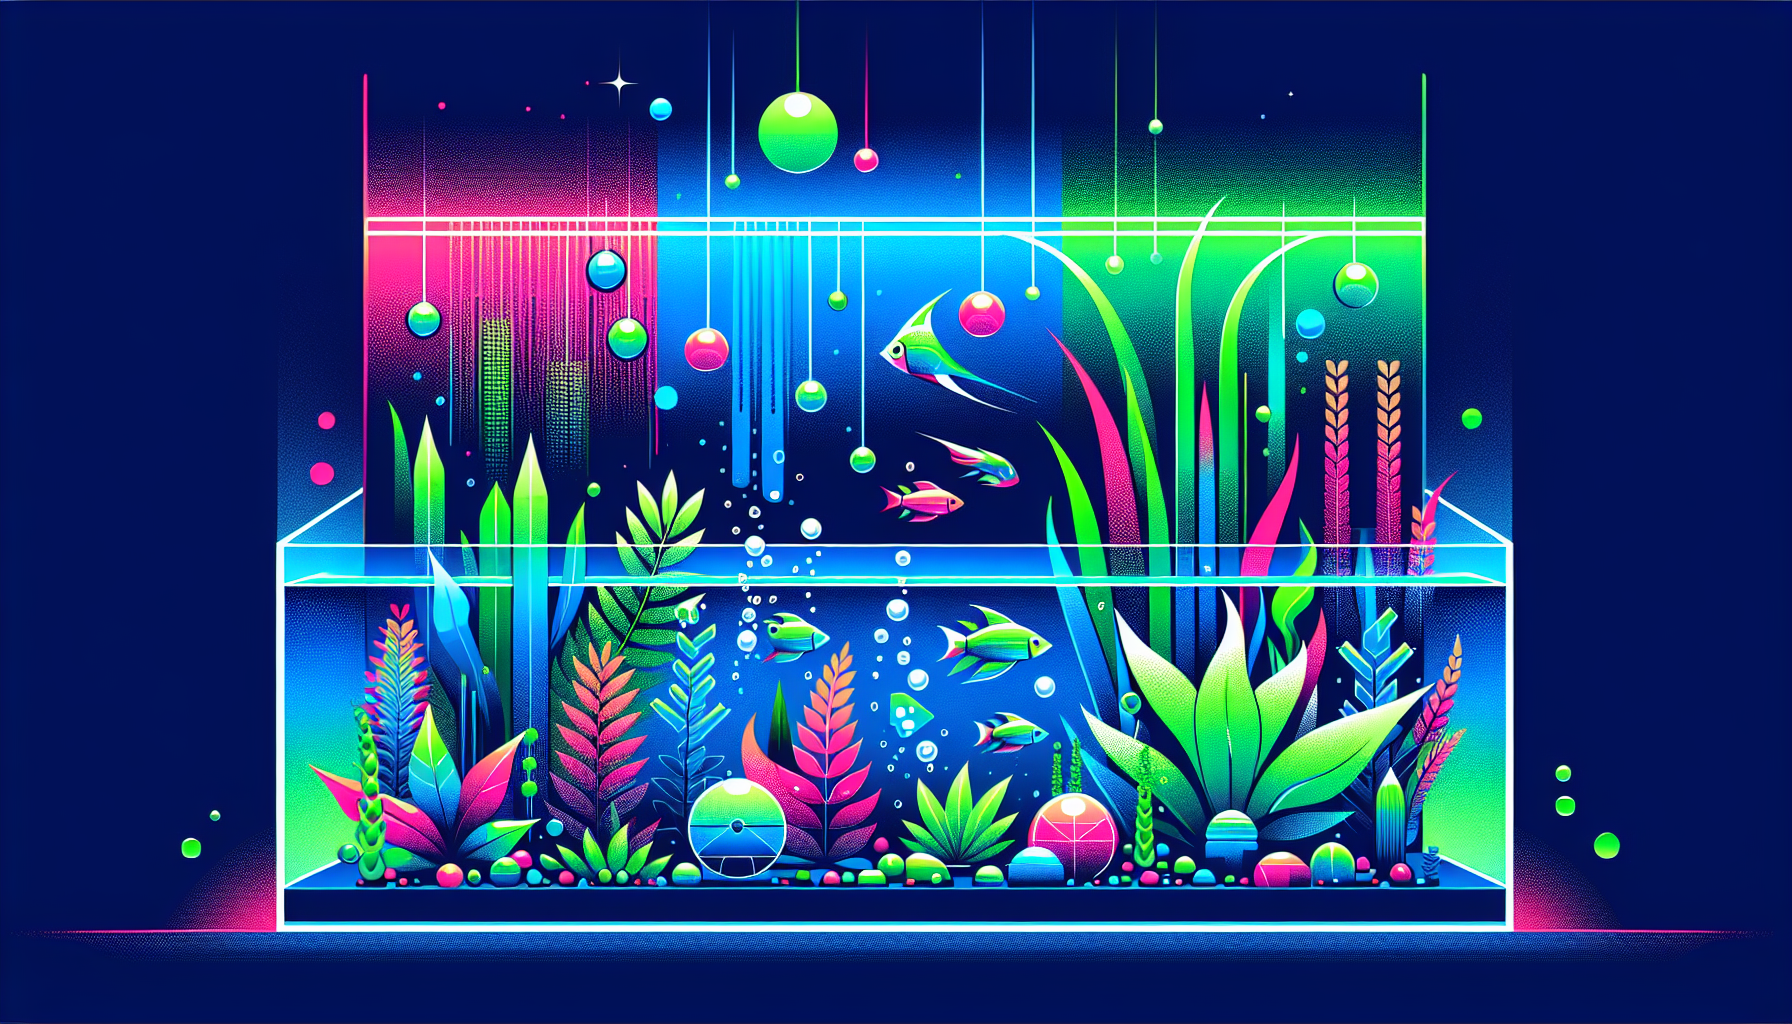
Common Mistakes with CO2 Drop Checker and How to Avoid Them
Getting CO2 levels right is crucial for a thriving planted aquarium. Many aquascapers rely on a CO2 drop checker to monitor and fine-tune carbon dioxide levels. However, it’s easy to make mistakes with drop checker use, which can lead to poor plant growth, algae outbreaks, and unhappy fish. In this post, we’ll cover the most frequent errors aquascapers make with drop checkers, explain their impact, and provide actionable tips to help you avoid them. Whether you’re new to aquascaping or experienced, this guide will help ensure your CO2 system supports a vibrant planted tank.
Why Correct CO2 Levels Matter in Aquascaping
Maintaining proper CO2 levels in your aquarium is essential for healthy plant growth and overall tank balance. While plants use CO2 during photosynthesis, too much or too little can cause issues—such as poor plant growth, algae blooms, or stress to your aquarium fish. A drop checker provides an easy way to visually monitor CO2, but only if used correctly.
What is a CO2 Drop Checker?
A CO2 drop checker is a small glass or plastic device that holds a CO2 indicator solution. It visually displays CO2 concentration in your aquarium water by changing color—typically blue (low CO2), green (ideal CO2), or yellow (high CO2). For a more detailed guide, see our post on how to use CO2 in your aquarium.
Common Mistakes with CO2 Drop Checkers
1. Using Tap Water Instead of 4 dKH Reference Solution
The drop checker must be filled with a 4 dKH (degree carbonate hardness) reference solution mixed with indicator reagent—not regular tap water or tank water. Tap water varies in KH, which directly affects the color change and makes readings inaccurate.
- Why it matters: Incorrect solutions will give false CO2 readings, leading to under- or over-dosing.
- How to avoid: Always use a prepared 4 dKH solution for your drop checker. These are readily available from reputable aquascaping suppliers.
2. Placing the Drop Checker in the Wrong Tank Location
CO2 is not distributed evenly across the aquarium, especially in tanks without good water circulation. Some areas may have higher or lower concentrations.
- Why it matters: Placing your drop checker too close to the CO2 diffuser or in a dead-spot can result in misleading readings.
- How to avoid: Install the drop checker on the opposite side of the aquarium, away from direct CO2 injection, and preferably near the outflow from your filter for a more representative reading.
3. Ignoring the Delay in Drop Checker Response
The drop checker indicates CO2 levels with a delay of one to two hours. This is because the gas exchange between tank water and checker solution is gradual.
- Why it matters: Adjusting CO2 based on immediate color change can lead to overcorrection.
- How to avoid: Make small adjustments, then wait at least 1–2 hours for an accurate reading before dosing further.
4. Using Expired or Wrong Indicator Solution
CO2 indicator solutions lose accuracy over time and may change color incorrectly, leading to unreliable readings.
- Why it matters: Old or incorrect solutions can suggest CO2 levels are safe or optimal when they aren’t.
- How to avoid: Replace the indicator solution every 4–6 weeks, and always check expiration dates on new bottles.
5. Neglecting Regular Maintenance and Cleaning
A dirty drop checker, or one filled with contaminated solution, gives poor readings and can harbor bacteria or algae.
- Why it matters: Contaminants can alter solution color and reduce the accuracy of your CO2 monitoring.
- How to avoid: Clean your drop checker and refill with fresh solution during your regular aquarium maintenance routine.
6. Misinterpreting Drop Checker Colors
Many aquascapers mistake the ideal CO2 concentration indicated by the color. The most common standard:
- Blue: Too little CO2
- Green: Ideal CO2 (~30 ppm for most aquascapes)
- Yellow: Excess CO2 (dangerous for livestock)
Some people incorrectly assume a blue-green color is ideal, or ignore a yellowish tint that signals high CO2.
- How to avoid: Aim for a solid green color. If in doubt, reference color cards often supplied with drop checkers.
Pro Tips for Accurate CO2 Drop Checker Use
- Start CO2 injection 1–2 hours before lights on to give plants ample CO2 from the start of the photoperiod.
- Monitor fish and shrimp closely—gasping at the surface is a sign of excess CO2.
- Pair drop checker readings with plant health observations and algae monitoring for best results.
- Log your adjustments to CO2, light, and fertilization to spot patterns over time. This helps optimize your overall maintenance routine.
Final Thoughts: Confidence in Your CO2 Routine
A CO2 drop checker is a fantastic tool for every aquascaper, but only when used correctly. By avoiding the mistakes above and following best practices, you’ll create a stable, healthy environment for your plants and fish. Remember, consistency and patience are key to mastering CO2 in a planted tank.
Ready to Take Your Aquascape to the Next Level?
For more practical aquascaping tips, CO2 guides, and inspiration, subscribe to the Aquascaping Academy newsletter. Let us help you achieve lush, healthy, and algae-free aquariums!


