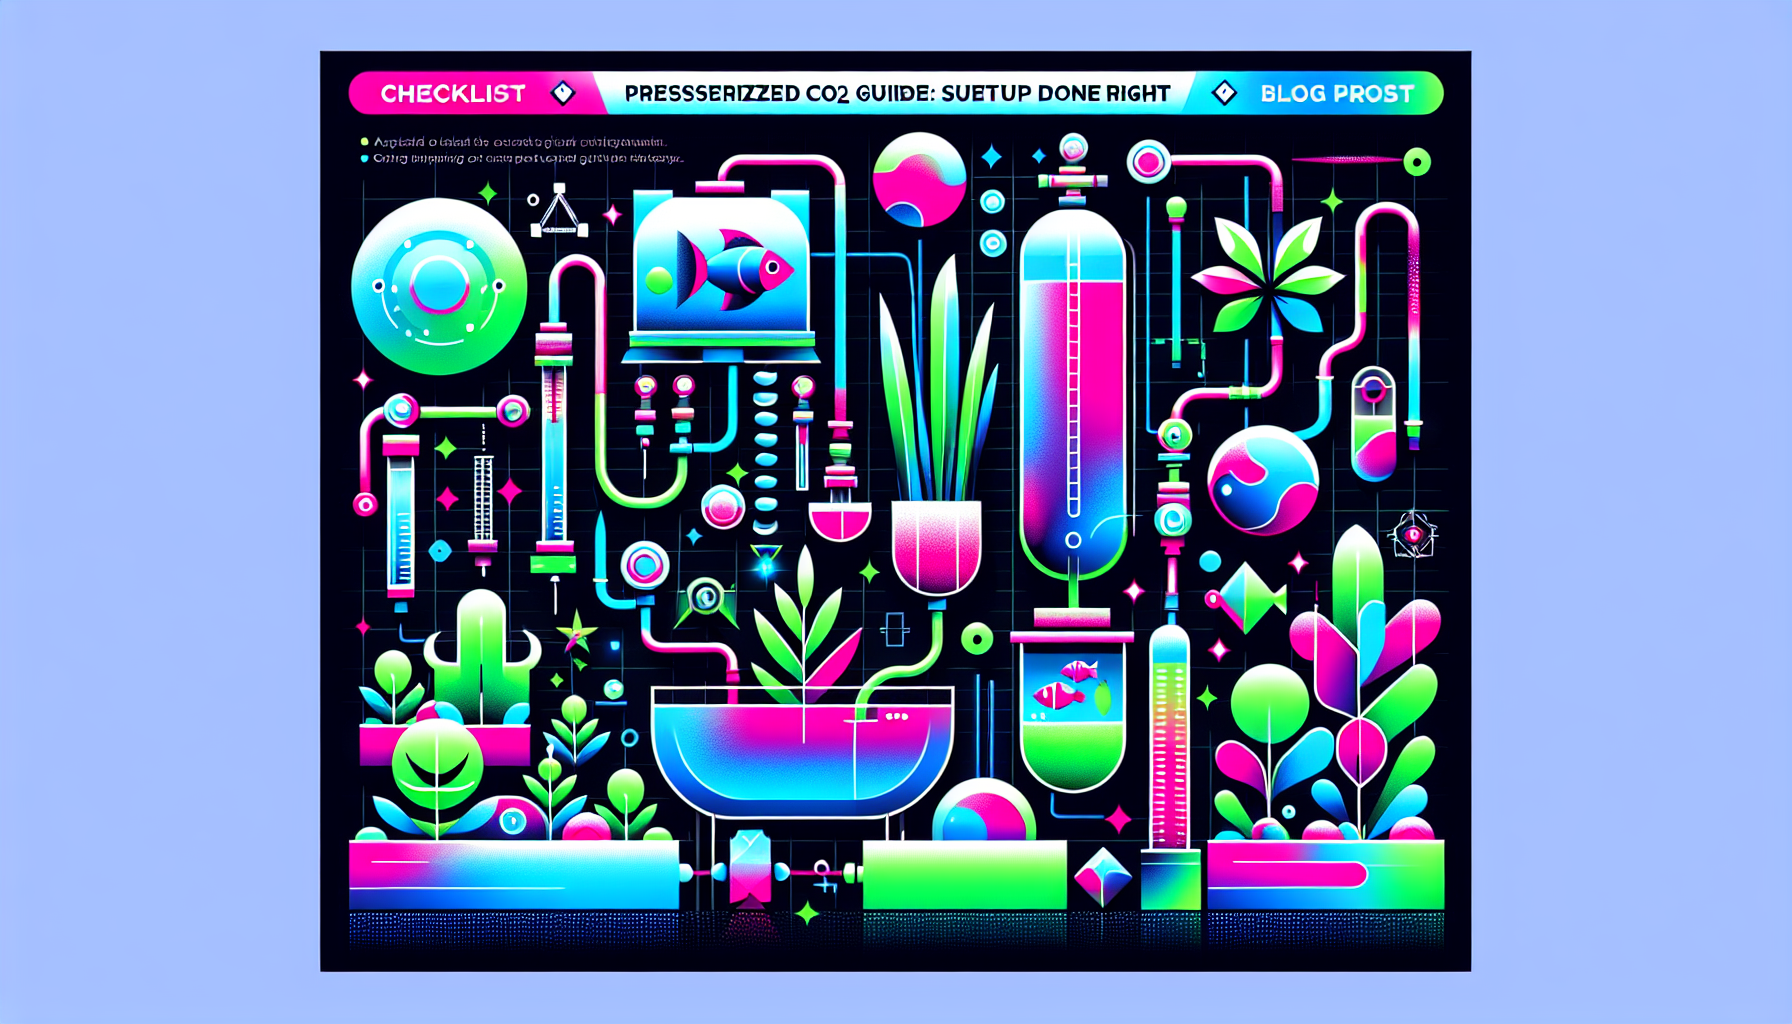
Checklist: Pressurized CO2 Guide Setup Done Right
Want to transform your planted aquarium into a lush, vibrant aquascape? Pressurized CO2 injection is an essential ingredient for healthy, thriving aquatic plants. But setting up a CO2 system can be intimidating for beginners and even seasoned aquascapers. That’s why we’ve created this comprehensive step-by-step CO2 setup checklist to help you avoid mistakes and achieve stunning growth safely and efficiently!
Why Use Pressurized CO2 in Aquascaping?
CO2 is vital for optimal aquarium plant growth. In low-tech setups, plants get limited CO2 from fish respiration and surface exchange, restricting their growth and coloration. Pressurized CO2 systems provide a controlled, reliable source of carbon, resulting in:
- Faster, healthier plant growth
- Vivid leaf colors and compact shapes
- Better resistance to algae
- More flexible plant choices
Before you start, be sure you’ve decided between pressurized CO2 and DIY methods for your aquascape!
Ultimate Pressurized CO2 Setup Checklist
1. Choose the Right CO2 Cylinder
- Select a cylinder (usually 2-5 kg) for your aquarium size
- Check for hydrostatic test date (safety certification)
- Ensure the cylinder valve type matches your regulator
2. Select a Quality CO2 Regulator
- Opt for a dual-stage regulator for stable pressure
- Choose one with a solenoid valve for automated timing
- Verify working and output pressure gauges
3. Gather Essential Accessories
- Needle valve (fine bubble rate adjustment)
- Check valve to prevent water backflow
- CO2-resistant tubing (not silicone – opt for polyurethane or PE tubing)
- Bubble counter (monitor injection rate)
- Diffuser or inline atomizer for efficient dissolution
- Drop checker for real-time CO2 monitoring
- Timer (for on/off automation via the solenoid)
4. Assemble Your Pressurized CO2 System
- Attach the regulator securely to the cylinder – double check for leaks using soapy water
- Connect the needle valve and check valve
- Install the bubble counter between regulator and diffuser
- Run CO2 tubing from regulator to your aquarium
- Position the diffuser in a high-flow area of the tank
5. Set Up & Calibrate CO2 Injection
- Open the cylinder valve slowly
- Set working pressure (usually 1-2 bar, depending on diffuser specifications)
- Adjust needle valve: Start with 1 bubble/sec for most tanks
- Observe drop checker color — aim for green (30 ppm CO2)
- Fine-tune bubble rate over several days
6. Automate and Monitor Your System
- Connect the solenoid to a timer or your aquarium lighting timer
- Set to turn CO2 on 1 hour before lights, off 1 hour before lights out
- Monitor drop checker and plant health daily
- Check for leaks at every connection regularly
Bonus Tips for a Flawless CO2 Setup
- Prioritize safety: Always handle pressurized cylinders upright and away from heat
- Integrate your CO2 routine with your aquarium maintenance schedule
- Balance CO2 injection with proper aquarium lighting and fertilizers to prevent algae
- Keep a beginner aquascaping checklist handy for regular reviews
Common Troubleshooting Checklist
- Low CO2? Check for leaks, worn o-rings, or clogged diffusers
- Algae outbreak? Consider adjusting CO2, light, and nutrient balance
- Fish gasping? Lower CO2 injection and increase oxygenation/aeration
- Bubble counter emptying? Refill with RO/DI water or glycerin
Final Thoughts: CO2 Injection for Stunning Aquascapes
With this pressurized CO2 setup checklist, you’re ready to boost your planted aquarium health and unlock your aquascaping creativity. Always monitor, adjust, and enjoy the transformation as your aquarium plants thrive like never before!
Need more aquascaping advice or want to explore advanced CO2 techniques? Check out our guides on:
- Essential aquascaping equipment
- Using aquarium CO2 drop checkers
- Preventing and treating aquarium algae
Ready to build your dream aquascape? Contact us or subscribe for expert aquascaping tips, checklists, and inspiration delivered to your inbox!


