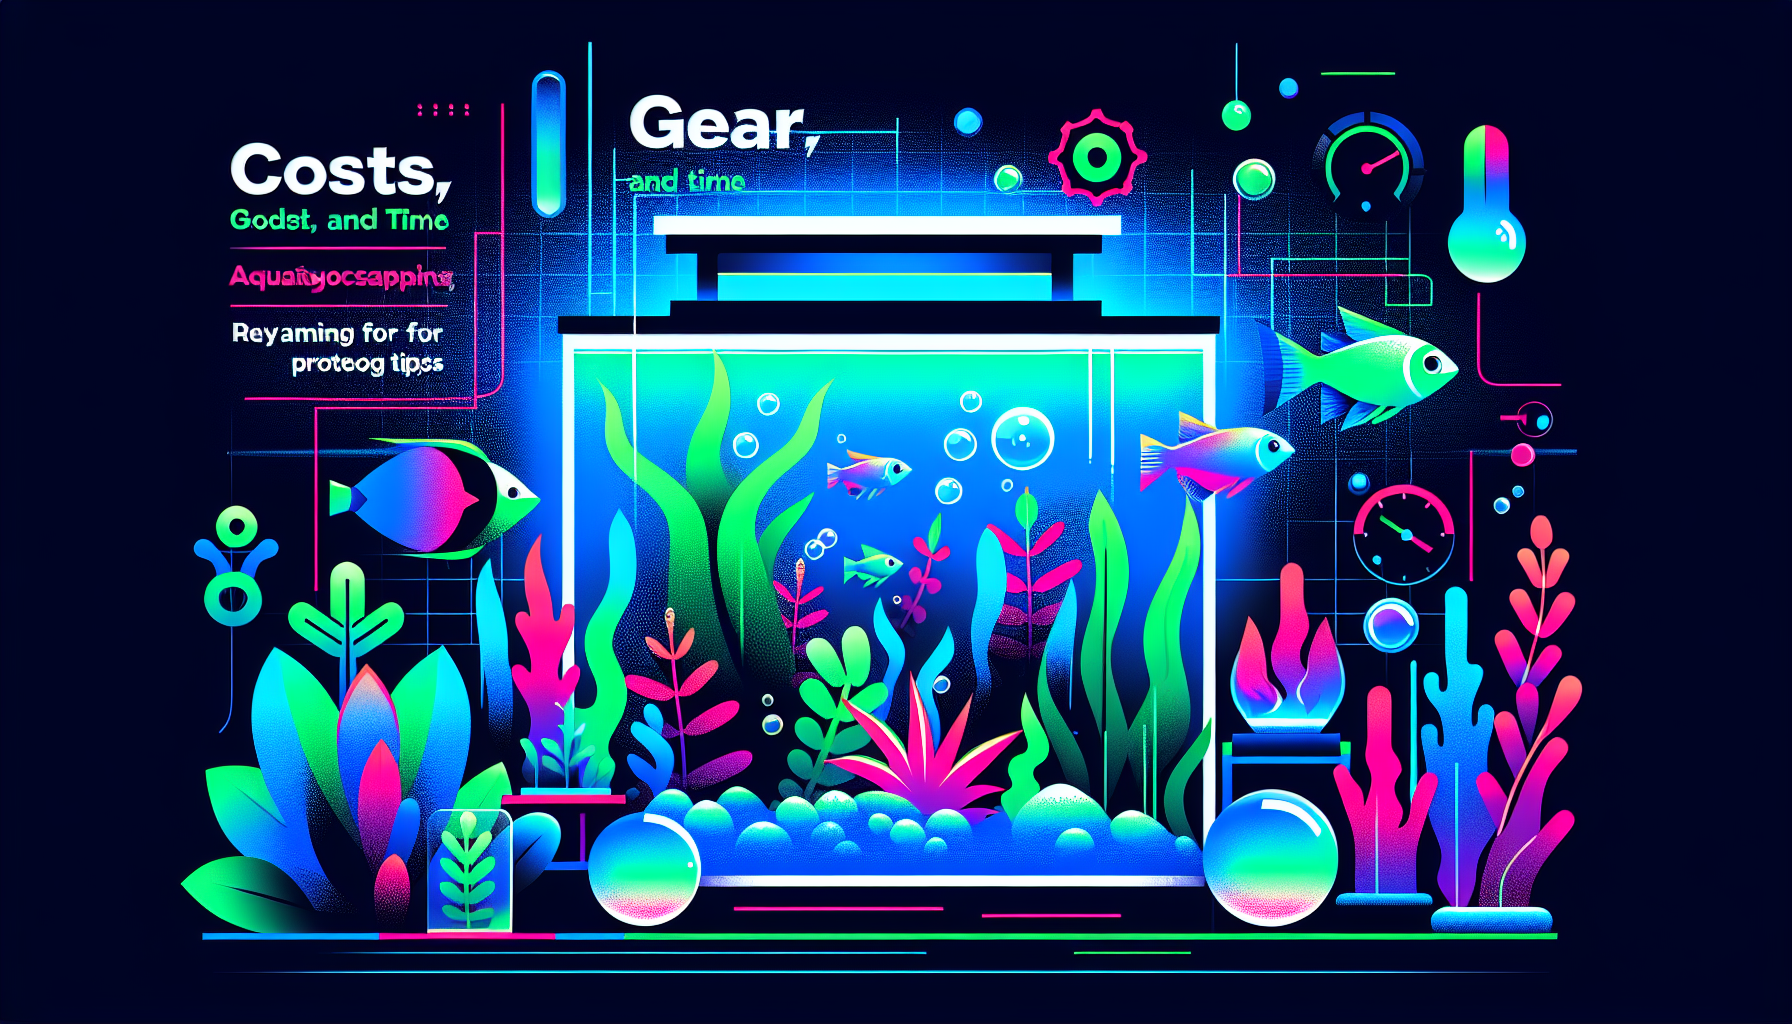
Costs, Gear, and Time: Planning for Photographer Tips in Aquascaping
Planning an aquascape isn’t just about plants, hardscape, and fish. Capturing the beauty of your underwater world with professional-quality photography brings your aquascape to life for a wider audience. Whether you’re sharing on social media or entering contests, understanding the costs, gathering the right photography gear, and allocating appropriate time are critical. In this comprehensive guide, we’ll break down what it takes—budget-wise and skill-wise—to get those perfect aquarium shots, and provide actionable photographer tips to help you succeed.
Understanding the Costs of Aquascape Photography
Initial Investment: Camera Equipment
Before you can snap jaw-dropping photos of your aquascapes, you’ll need to invest in gear. Here’s what you should consider:
- Camera Body: DSLR and mirrorless cameras are ideal. Expect prices to range from $400 to $1,500 for solid entry- and mid-level options.
- Lenses: A macro lens highlights details, while a wide-angle lens helps capture entire layouts. Good quality lenses range from $200 to $800.
- Tripod: Essential to stabilize your camera and shoot crisp, long exposure images. Budget around $50 to $300.
- Lighting: Supplement your aquarium’s existing lights with external flashes or LED panels for $70 to $250.
- Accessories: Remote shutter releases, cleaning kits, and backdrops can add $30 to $100 to your setup.
Be sure to check our best aquascaping gear guide for more budget-friendly options.
Ongoing Expenses
- Maintenance: Regular lens and sensor cleaning (supplies can cost $10/year).
- Image Editing Software: Adobe Lightroom or similar solutions usually cost $10–$20/month.
- Storage: Invest in memory cards and external drives for $50–$200, depending on needs.
Essential Gear for Aquascape Photography
Choosing the Right Camera
For clear and vibrant aquarium photos, select a camera with strong low-light performance and manual mode options. Modern smartphones can be a start, but for advanced work, a dedicated camera setup delivers more control and higher quality results.
The Importance of Lighting
Since aquariums aren’t always ideally lit for photography, supplement with adjustable LED panels or flashes. Use diffusers or bounce cards to soften harsh light and avoid distracting reflections. Aim for natural, shadow-free illumination that highlights every detail of your aquascape.
Tripods and Stability Tools
Water movement and long exposures can lead to blurry images. A sturdy tripod prevents this, while remote shutter releases or timer functions eliminate camera shake.
Lenses and Angles
Experiment with both macro and wide-angle lenses. Macro lenses are perfect for close-ups of plant textures and fish expressions; wide-angles capture the grandeur of your overall hardscape layout.
Time Commitments: What to Expect
Shooting Sessions
- Setup: 10–20 minutes for cleaning glass and prepping equipment.
- Shooting: 30–60 minutes per session, allowing you to experiment with angles and lighting.
- Editing: 15–30 minutes per photo for color correction, cropping, and retouching distractions.
Schedule photo sessions after tank maintenance for the clearest water and healthiest plants.
Developing Your Craft
Like aquascaping itself, aquarium photography is a journey. Expect to spend time learning camera functions, experimenting with composition, and reviewing results to improve your technique. Browse our aquascape inspiration gallery for creative ideas!
Photographer Tips: How to Capture Stunning Aquascapes
1. Clean Glass Inside and Out
Streaks and algae will ruin your shots. Wipe both sides thoroughly before shooting.
2. Time Your Photos
Shoot after water changes or aquascape trims. Wait for particulates to settle for optimal clarity.
3. Control Reflections
Turn off room lights, close curtains, and wear dark clothing. Use a dark fabric around the camera lens to minimize unwanted reflections.
4. Fine-Tune Composition
Use the rule of thirds, leading lines, and negative space to highlight your aquascape’s best features. Don’t be afraid to re-arrange foreground elements or remove distracting equipment temporarily.
5. Adjust Camera Settings
- Shoot in manual mode for full control.
- Use a low ISO (100-400) for minimal noise.
- Set aperture between f/5.6 and f/11 for sharpness and depth of field.
- Start with shutter speeds 1/60 sec or faster to freeze fish motion, or use longer exposures with stationary subjects.
6. Edit Thoughtfully
Post-processing enhances colors and removes distractions. Don’t overdo saturation—aim for realistic results to showcase your aquascape’s true beauty. Consider using batch presets for consistency in a series of shots.
Conclusion: Plan Your Path to Aquarium Photography Success
Investing wisely in gear, budgeting both money and time, and refining your technique will transform your aquarium photos from quick snapshots to works of aquatic art. Stay patient, practice often, and remember—it’s all part of sharing your passion with the world!
Looking for more expert guidance? Visit our aquascaping guides section or contact us with your photography questions. Ready to showcase your aquascape art? Share your best shots with our community, and let’s make underwater worlds shine—together!


