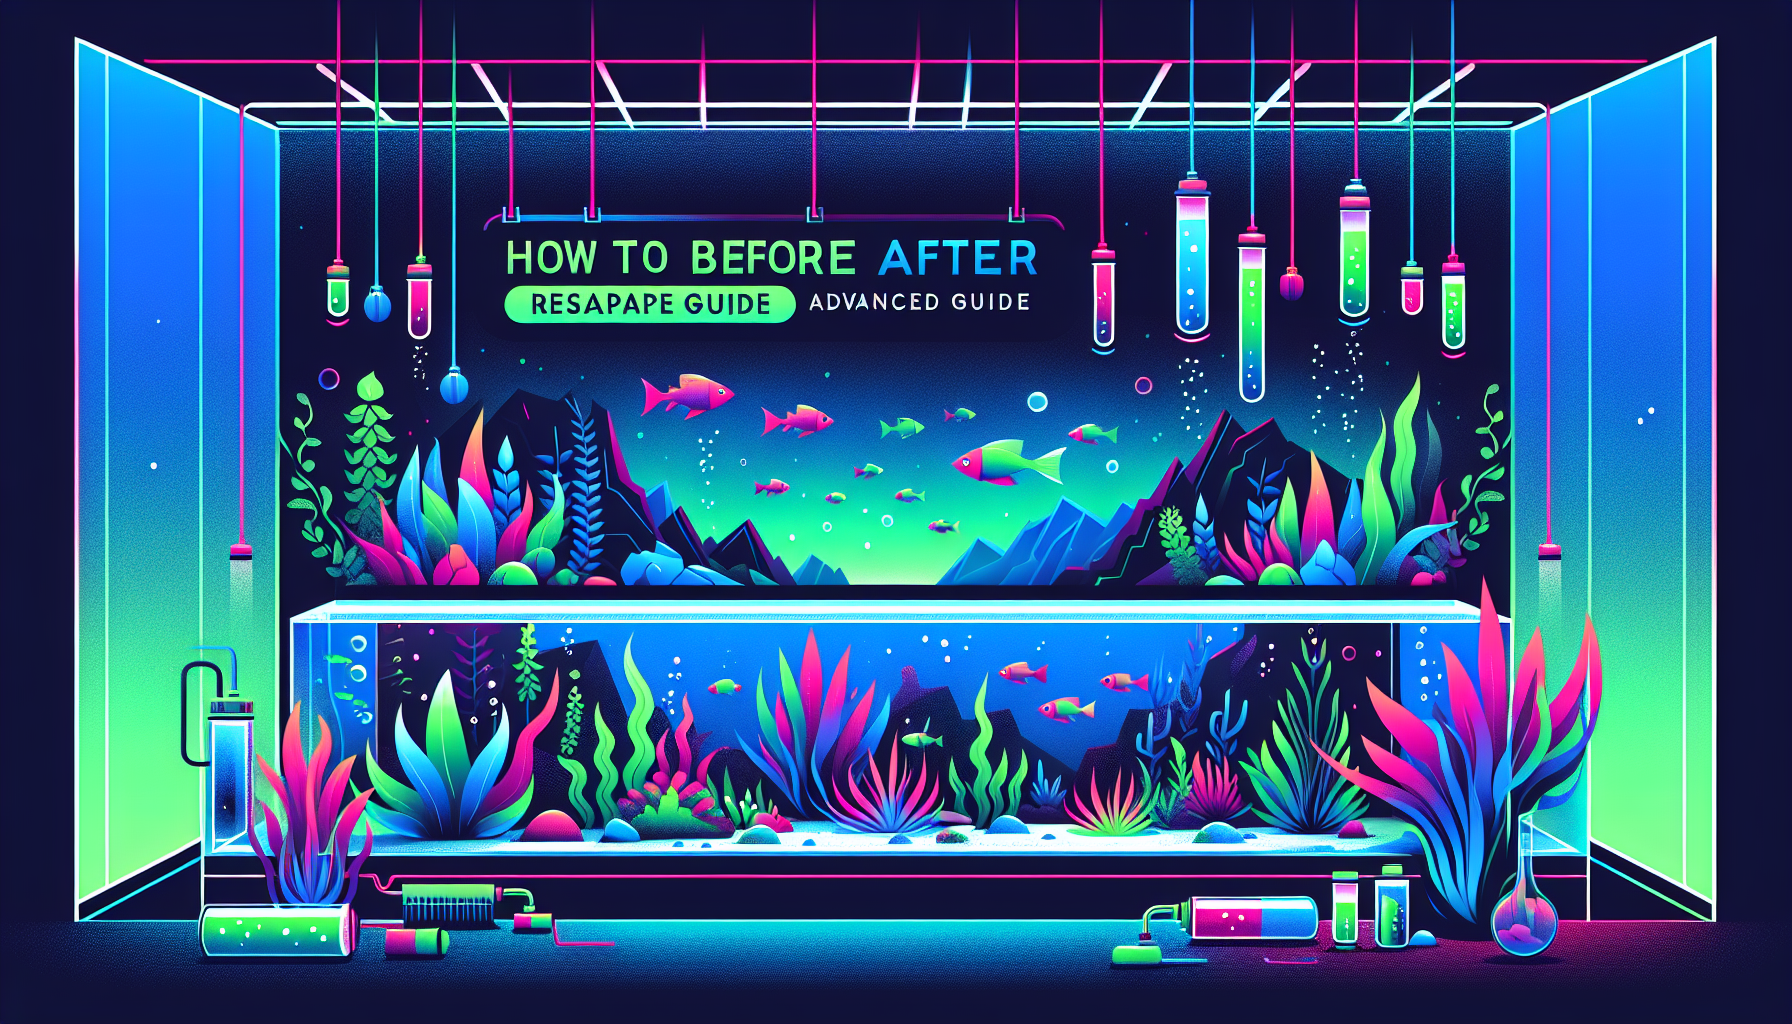
How to Before After Rescape (Advanced Guide)
If you’re aiming to take your aquascaping skills to the next level, performing a before and after rescape is one of the most gratifying projects you can undertake. Not only does it breathe new life into your aquarium, but it’s also a fantastic way to apply advanced design principles, learn from past mistakes, and showcase dramatic transformations. In this advanced guide, we’ll cover everything you need to know—from planning and executing to photographing your “before and after” rescape for full impact.
Why Rescape? The Importance of Renewal in Aquascaping
Aquascaping isn’t just about setting up a beautiful tank and leaving it be. Over time, planted aquariums may suffer from plant overgrowth, algae outbreaks, or simply a tired design. That’s where rescapes come in—a chance to refresh your tank, optimize water quality, introduce new plant species, and realize your creative vision. Documenting the “before and after” stages not only lets you appreciate your progress, but also inspires the aquascaping community.
Preparing for a Rescape: Planning & Analysis
1. Assess Your Current Aquascape
Before starting, carefully evaluate your current setup. Note what’s working (healthy plants, stable CO2 levels, pleasing hardscape) and what isn’t (overgrown stem plants, shaded areas, unwanted algae). Take high-quality photos to document your ‘before’ state.
2. Define Your Rescape Goals
- Do you want a new layout style (Nature, Iwagumi, Dutch)?
- Is your aim to improve plant health, create better hardscape/softscape balance, or address maintenance challenges?
- Are you introducing new livestock or correcting environmental issues?
3. Collect Inspiration & Sketch Designs
Browse aquascaping galleries, Instagram, or our aquascaping inspiration section. Sketch your new layout idea, considering plant placement, hardscape arrangement, and focal points.
Key Steps for a Successful Before and After Rescape
Step 1: Preparation
- Gather all equipment: aquascaping tools, buckets, nets, towels, spray bottles, substrate, and hardscape materials.
- Prepare a holding tank for fish, shrimp, or sensitive plants to minimize stress during the transition.
- Turn off electrical equipment and carefully drain part of the water to access your layout easily.
Step 2: Document the ‘Before’ State
This is your opportunity to capture detailed photos and notes about the current setup. Use consistent lighting and angles for future comparison. Consider taking close-ups of problem areas, as well as wide shots of the overall tank.
Step 3: Removing and Cleaning
- Gently remove all fish and livestock to their holding areas.
- Carefully extract plants and hardscape, assessing which elements you want to reuse.
- Siphon out detritus and old substrate, if you’re planning a full substrate change. Clean the glass and equipment.
Step 4: Building the New Aquascape
- Layer and shape your new substrate, considering slopes and planting zones.
- Position hardscape elements with attention to composition and flow. Use the ‘golden ratio’ or focal points to guide placement.
- Reintroduce and plant your desired aquatic plants. Mist them regularly to prevent drying during layout work.
- Fill the tank slowly to avoid disturbing the substrate. Use a plate or plastic bag to disperse water flow.
Step 5: Reintroduce Livestock & Fine-Tune
Once the tank has settled, slowly re-acclimate your fish and invertebrates. Monitor for signs of stress and environmental changes. Start your filter, CO2, and lighting as usual, then perform regular water tests during the first week.
Step 6: Capturing the ‘After’ State
Document the finished rescape from the same angles, height, and lighting as your ‘before’ photos. This consistency will highlight your design improvement and allow for a true before/after comparison to share with the aquascaping community.
Advanced Tips for a Flawless Rescape
- Temporary Plant Holding: Use a shallow tray with system water and a spray bottle to keep your plants healthy and hydrated during the transition.
- Hardscape Reuse: Rocks and driftwood can often be refreshed with a scrub and reused, helping both your new layout and your budget.
- Lighting Considerations: Adjust light intensity or photoperiod if you’re introducing new plant species. Our aquarium lighting guide can help.
- Document Growth Over Weeks: Take weekly progress shots to see how the aquascape matures and identify potential improvements.
- Share Your Journey: Posting your before/after results in forums or our aquascaping showcase not only inspires others but opens the door for constructive feedback.
Common Challenges and How to Overcome Them
- Cloudy Water: After rescapes, it’s common to experience initial water cloudiness. Use fine filter floss and perform water changes to speed up clearing.
- Ammonia Spikes: Removing substrate or disrupting the filter can affect beneficial bacteria. Test frequently and use bacterial additives if needed.
- Plant Melting: Some species melt after replanting. Trim dead leaves and ensure stable parameters for quicker recovery.
Conclusion: Transform Your Aquascaping Experience
Mastering the before and after rescape process is a hallmark of the advanced aquascaper. It challenges your creativity, discipline, and technical know-how, while providing immense satisfaction and new ideas for future layouts. Remember to document your journey thoroughly and don’t hesitate to experiment with layout styles, plant species, and hardscape arrangements. For more advanced guides, check out our resources below.
- Substrate Selection for Advanced Aquascapes
- Fertilizer Regimens for Planted Tanks
- Hardscape Materials: Wood & Rock Explained
Ready to share your rescape transformation?
Join our community gallery or leave a comment below with your before and after photos – inspire others and get feedback from fellow enthusiasts! For personalized tips or questions, don’t hesitate to contact us here. Happy aquascaping!


