How to Concave Layout Tutorial (Intermediate Guide)
Are you ready to take your aquascaping skills to the next level? The concave layout—a mesmerizing design where the substrate is higher at the sides and lower in the center—offers breathtaking depth and natural beauty to any aquarium. This intermediate guide will walk you through the essential steps, materials, and techniques needed to master the concave aquascape layout. Let’s create a vibrant underwater world that impresses both you and your guests!
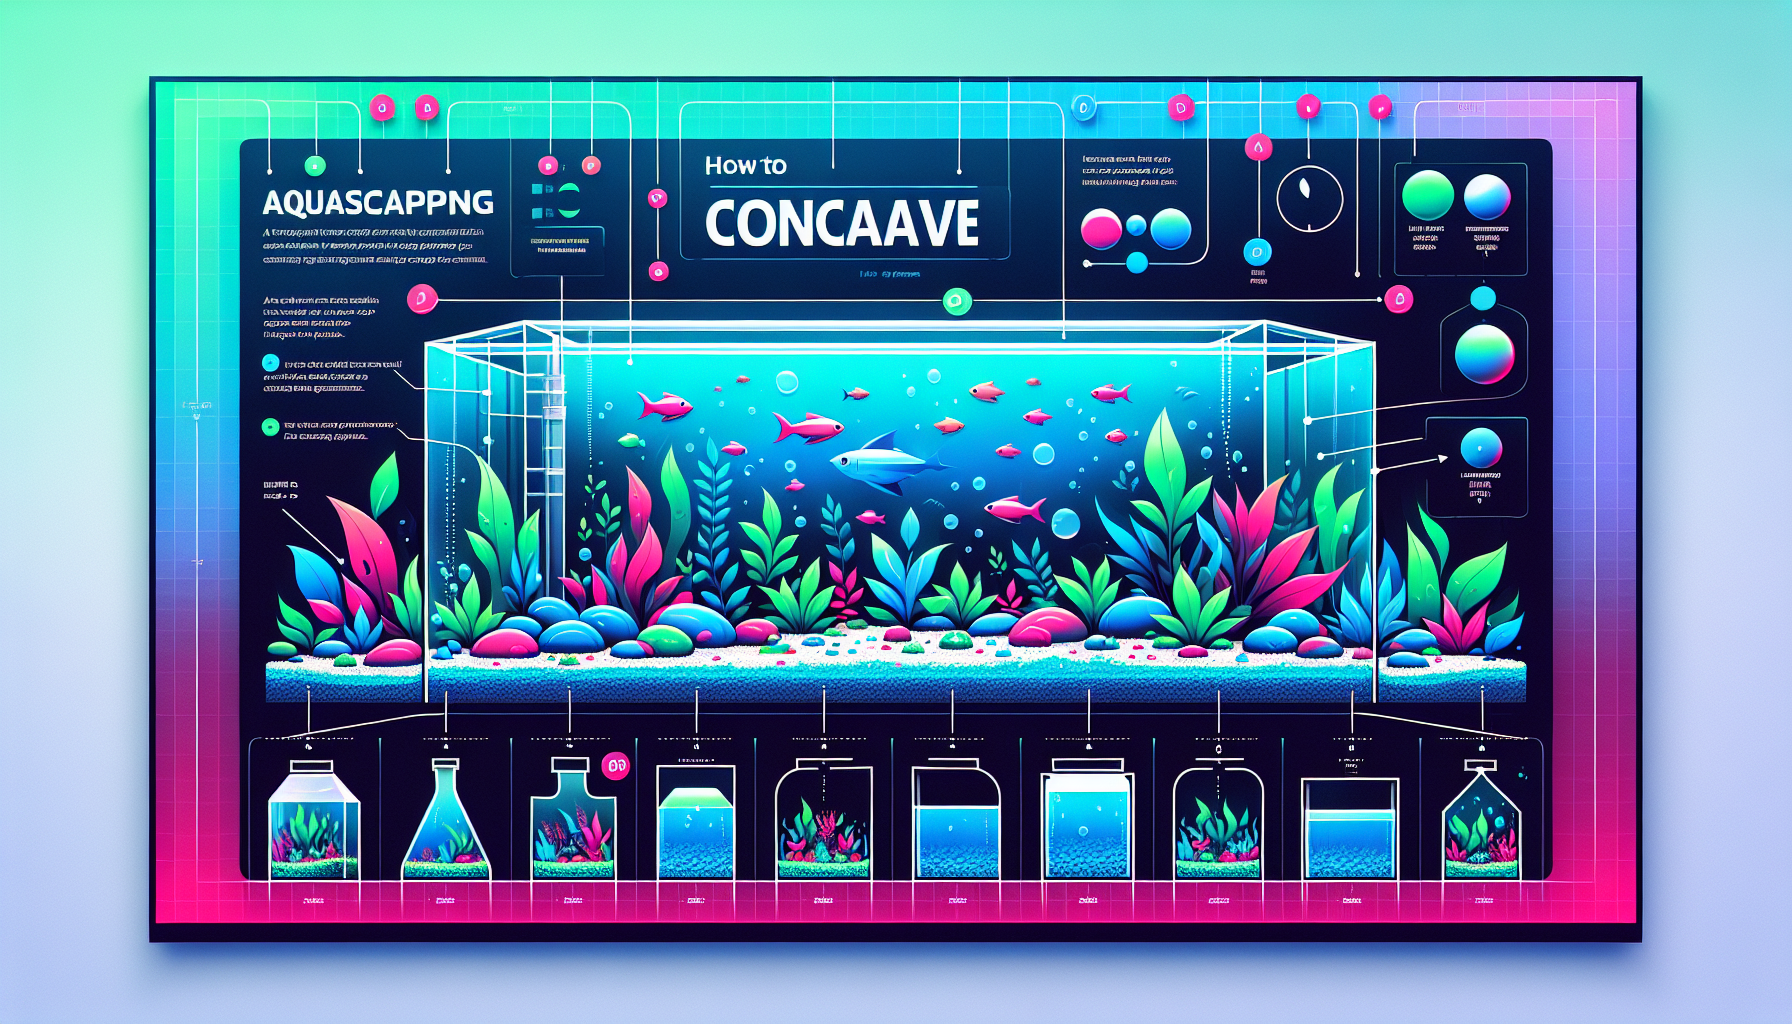
What is a Concave Layout in Aquascaping?
A concave layout—sometimes called a U-shaped aquascape—utilizes visual tricks to create space and highlight focal points. The substrate and hardscape are arranged so the highest points are on the left and right, forming a shallow valley or “concave” in the center. This popular style is ideal for intermediate aquascapers eager to experiment with aquascaping design principles like depth and perspective.
Why Choose a Concave Aquascape?
- Depth & Perspective: The sunken center draws the eye, making tanks feel larger than they are.
- Naturally Inspired: Mimics riverbanks and aquatic valleys found in nature.
- Plant Diversity: The varying substrate heights accommodate a range of plant species.
- Focal Point Creation: Ideal for showcasing driftwood, rocks, or a lush plant group as a focal feature.
Materials You’ll Need
- Aquarium tank (recommended: 60-120cm for impactful layouts)
- Aquarium substrate (nutrient-rich soil and decorative sand/gravel)
- Hardscape materials (driftwood, seiryu stone, dragon stone, etc.)
- Varied aquatic plants (foreground, midground, and background species)
- CO2 and filtration system for healthy plant growth
- Aquascaping tools (tweezers, scissors, spatula, etc.)
- Spray bottle for misting
Step-by-Step Concave Aquascape Tutorial
1. Planning Your Layout
Begin by researching concave aquascape inspiration and sketching a plan. Decide on your focal point and consider how substrate slopes, hardscape, and plant selection will draw attention to the center valley.
Key things to consider:
- Side slopes should be higher (at least 8–10 cm) than the center (around 3–4 cm).
- Rule of Thirds or Golden Ratio placement for focal elements.
- Leaving open space in the center for visual impact.
2. Building the Substrate Structure
Lay down a base layer of nutrient substrate for plant roots. Pile substrate high on both sides and gently taper it towards the center, creating a U-shape profile.
Pro tip: Use substrate supports or rocks hidden under the soil to prevent collapse over time.
3. Arranging the Hardscape
Begin with your largest stones or driftwood, placing them near the highest points on either side. Angling them toward the center helps guide the eye and increase depth.
Tips:
- Vary hardscape heights—avoid perfect symmetry for a natural look.
- Place secondary stones or branches to reinforce the U-shape and add layers.
4. Planting for Depth and Contrast
Choose plants that accentuate the layout’s shape and sense of depth:
- Foreground: Low-growing carpeting plants (like Hemianthus callitrichoides, Monte Carlo).
- Midground: Bushier plants (like Staurogyne repens, crypts).
- Background: Tall stems or grass-like plants on the slopes (Vallisneria, Rotala rotundifolia).
Plant densely, especially on the slopes, to stabilize the substrate and give a mature appearance faster. Mist plants as you go to keep them hydrated.
5. Filling and Cycling the Aquarium
Fill the tank slowly to avoid disturbing your carefully arranged layout (use a plate or plastic sheet to disperse water). Begin cycling the aquarium; stable water parameters are crucial for plant health. Add CO2 and start using quality liquid fertilizers as needed.
6. Maintenance & Final Touches
Maintain the layout with regular trimming, water changes, and algae management. As the tank matures, you can replace or add plants for seasonal changes or improved appearance.
Concave Layout Tips for Intermediate Aquascapers
- Keep the central space relatively open—avoid cluttering your focal area.
- Use sand or bright substrate in the center for increased visual depth.
- Mix in hardscape materials of different textures/sizes to mimic natural riverbanks.
- Experiment with backlighting or LED spotlights to highlight the concave shape.
- Take progress photos to track growth and improvements over time.
Common Mistakes to Avoid
- Not securing sloped substrate, which leads to collapse over time.
- Overcrowding the center with hardscape or plants, which nullifies open space.
- Neglecting to plan plant heights—results in a flat, uninteresting aquascape.
- Poor hardscape positioning that doesn’t enhance the U-shape.
Recommended Concave Layout Plant List
- Foreground: Hemianthus callitrichoides (HC Cuba), Eleocharis parvula
- Midground: Cryptocoryne wendtii, Staurogyne repens, Anubias nana ‘Petite’
- Background: Rotala rotundifolia, Vallisneria nana, Ludwigia repens
Inspirational Examples & More
For more aquascaping inspiration, visit our Aquascape Gallery or explore in-depth tutorials on other popular layouts like the Iwagumi style and the Nature Aquarium.
Conclusion: Your Path to a Stunning Concave Aquascape
A concave layout aquascape is a rewarding intermediate challenge that can absolutely transform your aquarium. By following the techniques and tips outlined above, you’ll create dynamic depth, highlight your favorite hardscape, and give your aquatic plants a perfect platform to thrive.
Ready to show off your creation? Share your aquascape photos or questions in the comments below, or join our community on the Aquascaping Academy Forum!
Looking for more? Explore our complete aquascaping guides for advanced tips, step-by-step tutorials, and expert advice.


