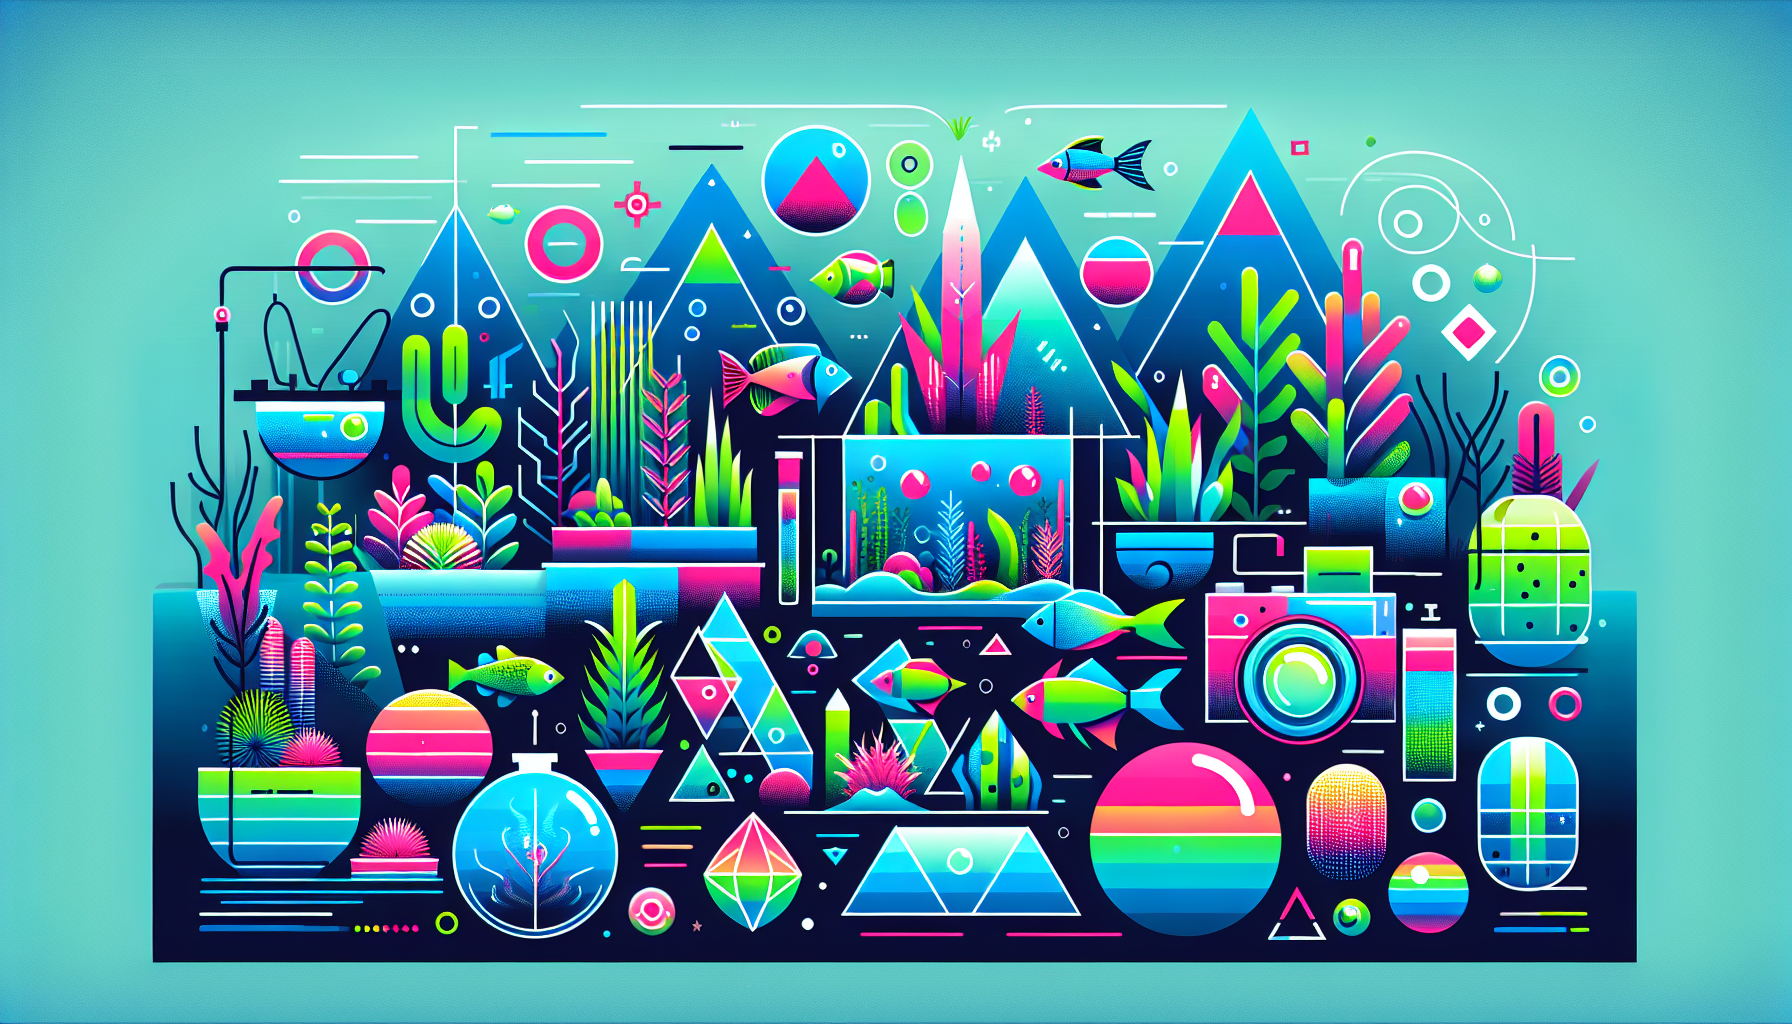
How to Photographer Tips (Beginner Guide): Capture Stunning Aquascapes
Whether you’re an aquarium hobbyist looking to showcase your aquascape masterpieces or a beginner eager to explore macro photography, learning how to capture your underwater world is as rewarding as aquascaping itself. In this comprehensive beginner guide, we’ll share practical photographer tips specifically tailored for aquascaping enthusiasts. Let’s dive in!
Why Photograph Your Aquascape?
Photography lets you immortalize the natural beauty of your aquascape. Sharing high-quality aquarium pictures not only enhances your personal records but also inspires the aquascaping community. Capturing these images helps you track the progress of your planted tanks and can reveal details you may miss in daily viewing.
Essential Equipment for Aquascape Photography
1. Camera Choice
- Smartphones: Modern smartphones boast impressive cameras, making them a great starting point for beginners.
- DSLR/Mirrorless Cameras: For ultimate control and image quality, consider upgrading as your skills progress.
2. Tripod
Stability is key! Even minor hand movements can result in blurry photos, especially in the lower light of most aquariums. A tripod ensures sharp images and helps you experiment with longer exposures.
3. Lighting
External lighting or adjusting your current aquarium lights can make a huge difference. Avoid using a camera flash, as it can produce harsh reflections and disturb aquatic life.
Step-By-Step Guide: Capturing Stunning Aquascape Photos
Step 1: Prepare Your Aquarium
- Clean the Glass: Remove algae and wipe away fingerprints inside and out.
- Tidy the Aquascape: Prune overgrown plants, tidy substrate, and clean decorations for a groomed look.
- Perform a Water Change: Clear water boosts clarity and color vibrancy in photos.
Step 2: Manage Lighting
- Ensure tank lights are on during the shoot. If possible, photograph when natural room light is minimal to prevent unwanted reflections.
- If using supplemental lighting, place it at an angle to highlight textures, shadows, and colors without washing out the scene.
Step 3: Camera Settings
- ISO: Keep ISO low (e.g., 100-400) for minimal noise.
- Aperture: Use a small aperture (higher f-number) for deeper focus, especially in dense aquascapes. For blurred backgrounds, use a larger aperture (lower f-number).
- Shutter Speed: Use faster speeds (1/125 or higher) to capture moving fish, or slower for a dreamy, still water effect (tripod required).
- White Balance: Adjust to correct aquarium light color casts and achieve natural hues.
Step 4: Composition Techniques
- Follow the rule of thirds for balanced layouts.
- Position your camera straight on or slightly above for the best perspective.
- Experiment with wide shots for full tank views and close-ups for plant/fish details.
Step 5: Post-Processing
Use photo editing software or apps to enhance color, contrast, and sharpness. Crop images to focus attention and remove distractions.
Common Mistakes to Avoid
- Photographing dirty or cluttered tanks
- Relying on flash photography
- Ignoring background distractions and reflections
- Neglecting post-processing
Showcasing and Sharing Your Photos
Once you’re happy with your results, share your aquascape photos on social media, aquarium forums, or as part of your personal aquascaping journal. Beginner aquascaping tips can help you develop both your tank and photography skills.
Further Reading
Conclusion
With these basic photographer tips, you’ll be able to capture—and share—the stunning beauty of your aquascaped aquarium. Remember, practice and patience are key to improvement. Keep experimenting, and your skills will flourish alongside your underwater world.
Enjoyed these tips? For more guides and inspiration, sign up for our newsletter!


