Troubleshooting Dutch Style Trimming: A Practical Playbook
The lush, vibrant bands of a Dutch style aquarium rely on careful plant placement, fastidious maintenance, and—most importantly—precise trimming. But what if your Dutch aquascape starts to lose its structure, or plants just won’t grow back the way you expect? Whether you’re a seasoned aquascaper or new to this iconic style, mastering trimming troubleshooting is key to keeping your underwater garden at its show-stopping best.
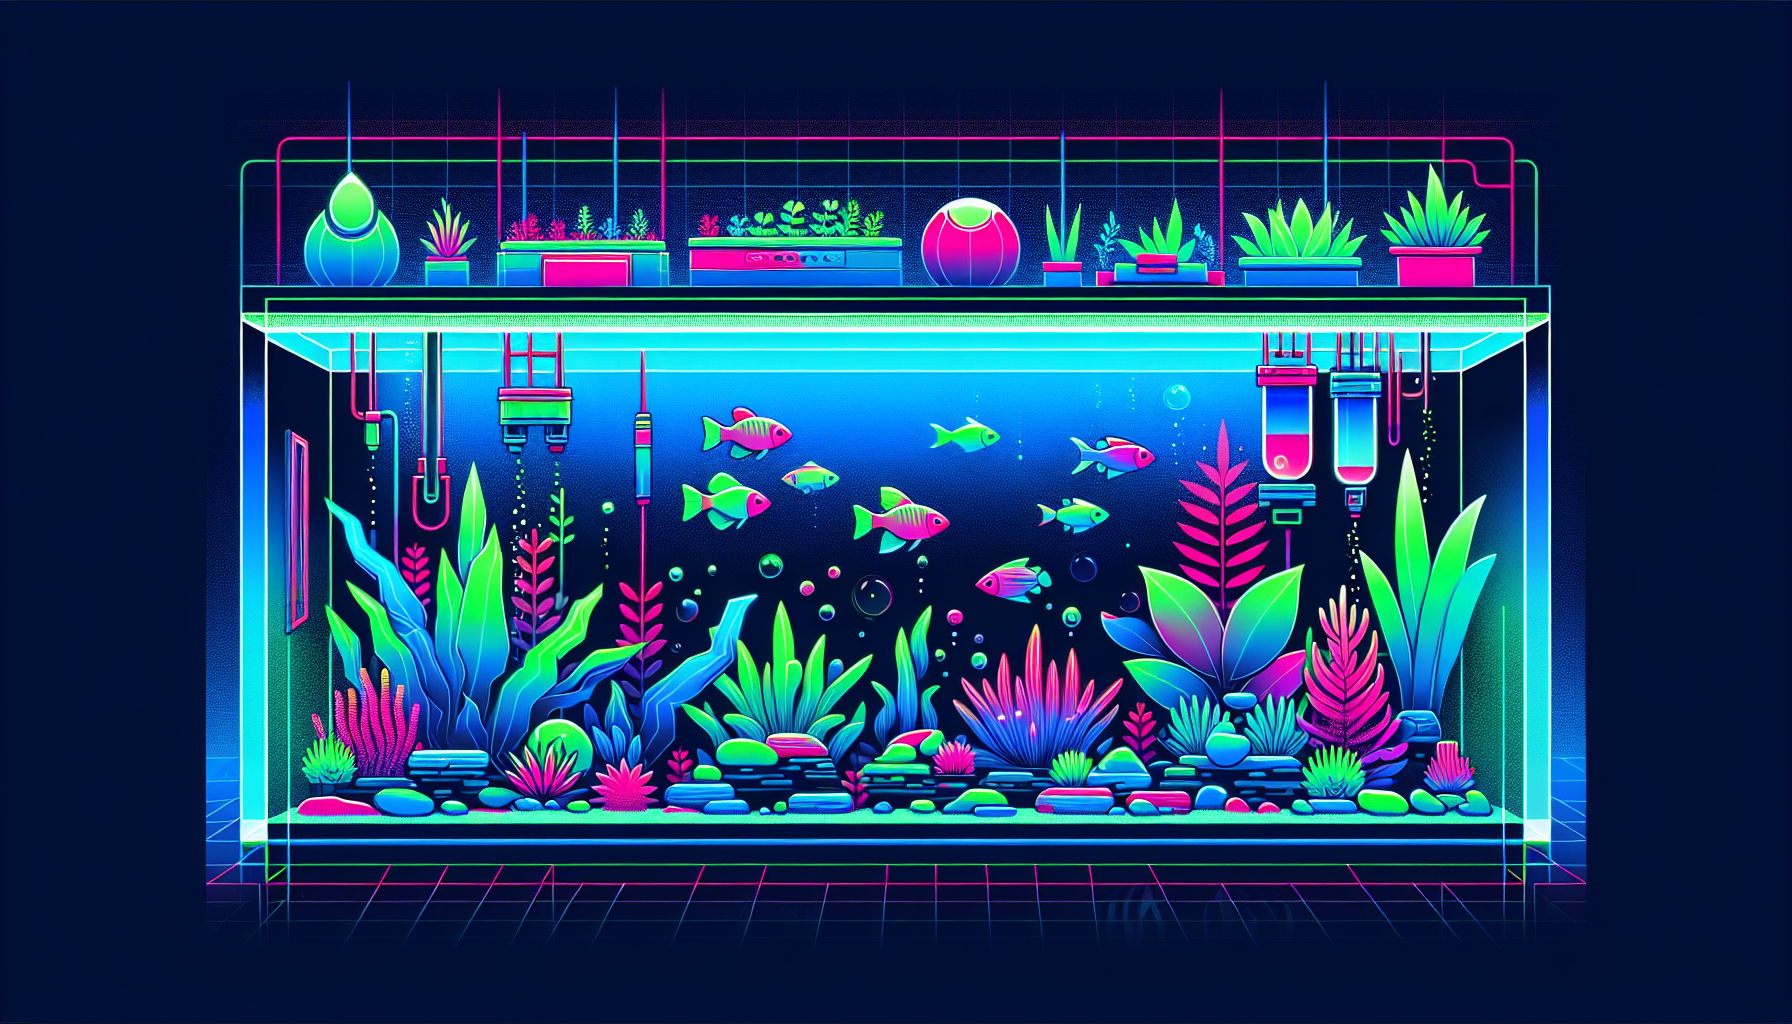
Understanding the Dutch Style Trimming Challenge
Dutch aquascaping celebrates density, contrast, and neatly arranged plant rows. Frequent plant trimming is essential to achieve those signature high walls of greenery. However, many hobbyists face setbacks—leggy stems, persistent algae, weak regrowth, or dull colors—that hamper that classic Dutch vibrancy.
Common Dutch Style Trimming Problems (And Solutions)
Let’s break down the most common trimming headaches in Dutch tanks and how to solve them—with a practical, step-by-step playbook.
1. Leggy Stems After Trimming
Problem: Stems grow tall and sparse with large gaps between leaves, ruining your rows’ fullness.
Possible Causes: Insufficient light, weak nutrients, or improper trimming methods.
Solution:
- Boost Lighting: Dutch layouts thrive with strong, even illumination — check your PAR levels and ensure even coverage.
- Fertilize Properly: Use a balanced dosing regime for macronutrients and micronutrients. Consider root tabs for heavy root feeders.
- Trim Correctly: Cut stem plants just above a leaf node. This encourages bushy, horizontal growth and denser plants.
- Plant Denser: After trimming, replant healthy tops in gaps to keep rows thick from base to crest.
2. Slow or Weak Regrowth
Problem: After a trim, plants recover slowly, or only a few weak shoots emerge.
Possible Causes: Insufficient CO2, poor water quality, or aggressive trimming.
Solution:
- Increase CO2 Injection: Dutch aquascapes benefit from stable CO2 — check for at least 20-30 ppm during photoperiods.
- Mind Trimming Height: Leave at least two healthy nodes on most stems to guarantee sufficient energy for regrowth.
- Maintain Water Quality: Regular water changes (30-50% weekly) dilute organics and replenish minerals for strong recovery.
- Learn more about CO2 injection best practices in planted tanks.
3. Algae Surges After Trimming
Problem: Algae blooms shortly after a major trim, especially on freshly cut stems.
Possible Causes: An imbalance between nutrients, light, and plant mass.
Solution:
- Reduce Lighting Temporarily: Cut photoperiod by 1-2 hours for a week after heavy trims while plant biomass recovers.
- Tweak Fertilization: Slightly reduce dosing right after trimming to suit lower plant uptake, then gradually ramp up.
- Manual Cleaning: Use a soft brush or your fingers to gently remove algae from leaves and hardscape.
- Introduce algae-eating species (like Amano shrimp or Otocinclus) after ensuring plant health stabilizes.
- Read our algae control in Dutch aquascapes guide for detailed strategies.
4. Dull or Faded Colors
Problem: Reds and greens look pale after trimming.
Possible Causes: Reduced light at lower levels, nutrient imbalances, or unhealthy roots.
Solution:
- Ensure Light Penetration: Remove old, shaded stems at the base to allow more light to reach new growth.
- Iron and Trace Elements: Dose extra iron for red plants, and monitor for potassium deficiency (yellowing margins).
- Healthy Root Zones: Lightly vacuum substrate to prevent compaction and root rot.
- Review our comprehensive lighting optimization tips for maximizing plant color.
5. Poor Plant Structure (“Floating Heads”)
Problem: Plants appear top-heavy after trimming, with neat tops but bare stems underneath.
Possible Causes: Habitual trimming at the same height, neglecting replanting.
Solution:
- Alternate Trimming Heights: Cut rows at staggered levels to create a more natural, tiered look.
- Replant Tops: Remove unsightly lower sections and replant bushy tops to keep rows thick.
- Rotate the location of trims for each maintenance cycle to prevent uniform “floating heads.”
- Explore our Dutch style plant layout inspiration for structural ideas.
Best Practices for Dutch Style Trimming Success
- Always use sharp, clean aquascaping scissors to prevent bruising stems.
- Trim little and often—don’t wait for a total overgrowth before maintenance.
- Keep records of trim dates and observe regrowth patterns for each plant species.
- Regularly rotate, replant, and revitalize rows to maintain Dutch style harmony.
- Combine regular water parameter testing with your trimming schedule for precise troubleshooting.
When to Seek Advanced Help
If plant issues persist despite following these tips, consider consulting with experienced hobbyists or professional aquascapers. Sometimes transitioning to more suitable plant species, investing in higher-quality equipment, or refreshing your aquascape’s layout is necessary for Dutch style success.
Conclusion: Master Every Trim for Dutch Style Glory
Trimming in a Dutch aquascape is both a science and an art. With this troubleshooting playbook, you’re better equipped to maintain robust, colorful rows and prevent common setbacks. Remember to adapt your techniques for your unique tank and plant choices—consistency and attention to detail are your greatest allies!
Ready to level up your aquascaping skills? Browse our complete aquascaping tutorial library and join the aquascaping.academy community forum to share experiences and get tailored advice!


